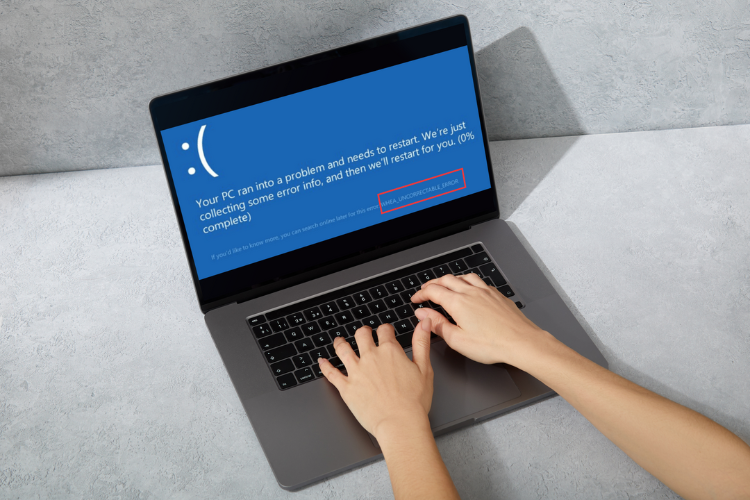
Top 9 Ways to Fix WHEA_UNCORRECTABLE_ERROR
Are you seeing a blue screen error or a stop code? If yes, your Windows PC has shut down itself to protect you from data loss. You will see a message – WHEA_UNCORRECTABLE_ERROR – on your PC with a blue screen. This error occurs to your Windows computer due to driver compatibility issues, corrupted hardware, extreme health, power issues, faulty registry files, or corrupted Windows system files. You need to fix it to keep accessing your PC with Windows 10 or Windows 11 OS. Here are some easy methods for your assistance:
Get all the recent updates for your PC with Windows Update
For Windows 11, you can:
Step 1: Go to the Windows icon/Start button.
Step 2: Choose the Settings app from the options displayed in the pop up screen/window.
Step 3: Scroll down the options and click on Windows Update.
Step 4: Tap on the option – Check for Updates – under the Windows Update screen.
For the PC with Windows 10, you need to:
Step 1: Click on the Start button/Windows icon.
Step 2: Select the Settings app from the newly opened screen.
Step 3: Go to Update & Security. After that, click on Windows Update.
Step 4: Now, click on the tab/option – Check for Updates.
Create a restore point or restore your Windows to an earlier point

Step 1: Type the term – create a restore point – in the search bar close to the Windows icon/Start button.
Step 2: Tap on the most appropriate search result.
Step 3: Now, tap on the option – System Restore.
Step 4: Choose a restore point or the one you have just created.
Step 5: Now, click on the Next option.
Step 6: Tap on Finish as the system restore process ends.
Check for hardware issues
- Check for the CPU, RAM, and allied hardware to know whether they are well or have any issues.
Run CHKDSK

Step 1: Type cmd in the search box that lies around the Windows icon on a PC.
Step 2: Click on the best-matched option to open the Command Prompt. And select Run As Administrator.
Step 3: Click on the Enter key after typing the command – chkdsk c: /f
Step 4: Now, input Y and tap on the Enter key.
Step 5: Enter the command – chkdsk c: /f /r – if the earlier does not resolve the issue.
Check and update your device drivers
Step 1: Open Device Manager. For this, you can right-click on the Start button/Windows icon. Or you can press the Windows and R keys together to open the Run app, type devmgmt.msc in the dialogue box, and hit the Enter key.
Step 2: Find and expand Disk Drivers.
Step 3: Click on the Update Driver option right to each driver if a driver has a red or yellow sign.
Reset and install memory
- Visit a computer or laptop repair shop and request the technician to check for memory and allied hardware issues.
- Request the technician to reset your device memory
Reset BIOS
Step 1: Go to the BIOS of your Windows PC.
Step 2: Use the keys to go through the BIOS system and search for its default option.
Step 3: Click on the BIOS default option as you find it. After that, hit the Enter key.
Step 4: Exit the BIOS after saving the made changes.
Step 5: Let your PC restart with the BIOS reset.
Get rid of the BCD error
Step 1: Open the Command Prompt by typing cmd in the search bar and tapping on the most appropriate search result.
Step 2: Type in and hit the Enter key the following commands one by one – ren BCD BCD.old and bcdboot C:/Windows /1 en-us /s G: /f ALL.
Step 3: Restart your PC.
Reset your Windows

Step 1: Tap on Next after setting the time, date, and language of the installation wizard.
Step 2: Tap on the option – Repair. You can find it at the bottom left corner of the device screen.
Step 3: Now, tap on next.
Step 4: Choose Troubleshooting. After that, tap on Reset This PC.
Step 5: Select the right option for keeping or removing files and folders as a prompt appears.
Step 6: Click on the right option – Reset Normally, rest, or wipe the drive.
Step 7: Click on Reset in the next screen to start the reset process.


