Top 6 Ways to Fix Minecraft Error Code 1
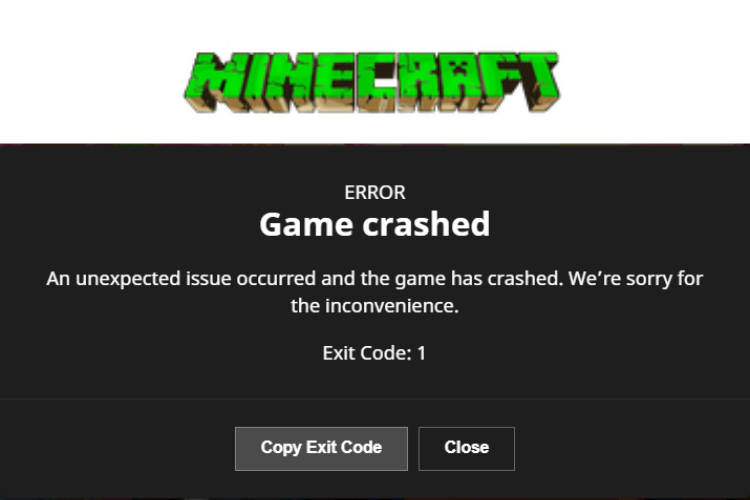
The Minecraft error code 1 has an association with the crashing of the game. It means the Java runtime configuration has performance issues. And it occurs due to mod conflicts, outdated video drivers, or a faulty launcher path. When it happens, you may see this message on your screen – Process crashed with exit code 1. To keep enjoying the game, you need to fix the issue. Here are some useful ways for your assistance:
Modify the launching path
![]()
Step 1: Right-click the Minecraft shortcut on your desktop or laptop and choose Properties to edit its launching path.
Step 2: In the properties window/screen, go to the Shortcut option.
Step 3: Choose the entry of the Target field.
Step 4: Now, edit the existing text at the end in the Target field box. Ensure not to delete the existing text. Press the Ctrl and Z keys together if you delete the existing text.
Step 5: Click on the Apply option to apply the changes you have made. After that, tap OK to exit from the Properties window.
Reinstall Java

Step 1: Visit the page – https://www.java.com/en/download/manual.jsp – to download the latest installer and update Java.
Step 2: Select the right installer for your PC from the available versions – Linux, Microsoft Windows, or Mac OS.
Step 3: Run the executive/setup file. It will install Java on your computer.
Step 4: Wait until the installation process ends. After that, close the setup file.
Deactivate Mods
Step 1: Open the Run app on your PC by typing run in the search bar or pressing the Windows icon and R key together.
Step 2: In the box next to Open of the Run app, type %AppData%. After that, press the Enter key or tap on the OK option.
Step 3: Search for and open the .minecraft folder in the Roaming screen.
Step 4: Open the Latest.txt file after the Logs folder.
Step 5: Inspect the logs for an issue with any mod.
Note – These steps may not work for you if your computer has a Linux or Mac operating system. Follow your device-specific steps to disable Mods.
Reinstall Minecraft

Step 1: Type the term – control panel – in the search bar or in the Open option of the Run app. After that, hit the Press option.
Step 2: Look for and tap Programs and Features in the next screen.
Step 3: Search for and click on Minecraft in the list of installed apps/programs.
Step 4: Now, choose Uninstall and click OK or Continue to confirm your request.
Step 5: Wait for a while and let the uninstallation process end.
Step 6: Visit Minecraft’s official website and follow the on-screen instructions to download and install the Minecraft app again on your desktop or laptop.
Change Java’s executable path
Step 1: Launch the Minecraft Launcher on your PC. After that, click on the Launch Options tab to continue.
Step 2: Turn on the toggle next to Java Executable.
Step 3: Modify the Java executable path. Change the Java file name, javaw.exe, into java.exe. The previous path may be the reason behind the issue you are facing.
Step 4: Click on the Save option as you finish your editing job.
Update the GPU drivers on your computer
Step 1: Think about updating your graphic drivers.
Step 2: Visit the official website of your computer manufacturer, such as Lenovo, Apple, HP, and Accer to manually update and install the latest VGA drivers on your system.
Step 3: Keep your device information like model number handy and enter the same if required.
Step 4: Scroll down the options to find the most suitable VGA drivers.
Step 5: Choose the Download and Install option and follow the on-screen instructions to update drivers on your PC.


